No products in the cart.

Bonded vs Stitched: How Seamless Construction Changes Custom Sportswear
Bonded vs Stitched: How Seamless Construction Changes Custom Sportswear
Most custom sportswear is still built the way it was thirty years ago: cut the panels, stitch them together, print on top. It works, it is cheap, and it is the reason so many team kits fail in the same three places — under the arm, across the shoulder, and at the hem.
Bonding removes the stitch entirely. Instead of thread, a heat-activated tape fuses two panels into one surface. The result is flatter, lighter and printable right across the join. It is also fussier to make, which is why fewer factories offer it.
This guide covers what bonding actually is, where it beats stitching, where it does not, and what to specify so the garment survives a season rather than a photo shoot.
What bonded construction actually is
A bonded seam replaces thread with a tape. The two panel edges are aligned, a strip of adhesive tape is placed over the join, and heat plus pressure cures it into the fabric. No needle penetrates the material, so no hole is created and no thread sits on the surface.
Three things follow from that single mechanical difference:
- – The seam is flat. There is nothing to rub against skin, which matters most on singlets and anything worn without a base layer.
- – The surface stays continuous. Because there are no stitch holes, a sublimated print can run straight across the join instead of stopping at it.
- – The panel becomes lighter. Tape weighs less than a stitched and overlocked seam allowance, and the allowance itself can be trimmed away.
Bonding is not a fabric. It is a construction method, and it can be applied to knit or woven, plain or fully printed.
Bonded vs stitched: where each one wins
Neither method is universally better. The right answer depends on the garment, the print and the price point.
| Bonded | Stitched | |
|---|---|---|
| Seam profile | Flat, near-invisible | Raised, visible stitch line |
| Chafing on skin | Minimal | Can rub on long efforts |
| Print continuity across seams | Continuous | Interrupted by stitch line |
| Stretch recovery | Good with the right tape | Good, but stitch can pucker |
| Repairability | Hard to repair locally | Easy to repair |
| Tooling and setup | Higher, needs heat press control | Lower, widely available |
| Best fit | Singlets, bonded polos, tight-fit layers | Heavy woven jackets, structured panels |
The practical rule we use: if the garment touches skin directly and carries a print, bonding is worth evaluating. If it is a structured outer layer carrying load, stitching usually wins.
The four places bonding earns its cost
Bonding the whole garment is rarely necessary. In most programmes it is applied where the wearer or the artwork benefits most.
1. Collar and placket
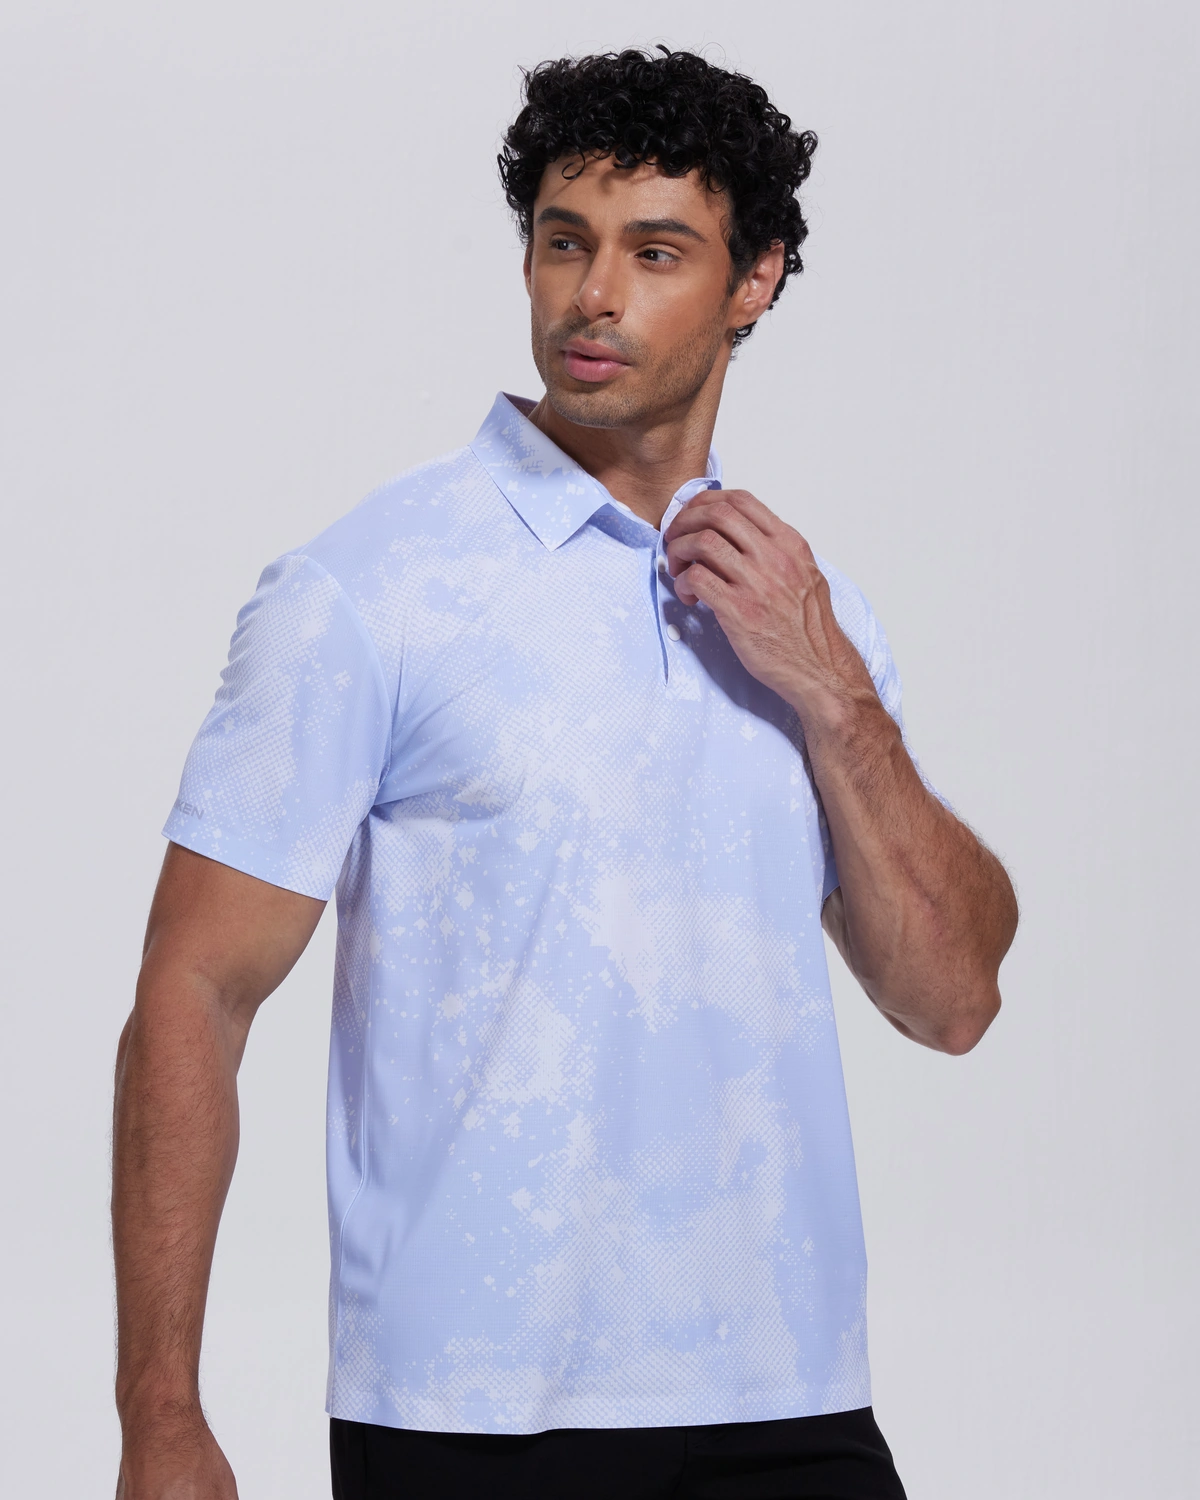
On a bonded polo, the collar and placket are the parts people actually notice. A stitched collar shows a line of thread at the fold and can curl after washing. A bonded collar holds a cleaner edge and lets a logo sit flush across the placket. Our own bonded golf polo is built this way, and it is the detail that most distinguishes it from a standard stitched polo.
2. Side seams
The side seam runs from armpit to hem, which is exactly where a singlet rubs during a long effort. Bonding removes the raised ridge without changing the pattern. On a custom running singlet this is the single most requested construction change we get from teams moving off stock kit.
3. Hems and leg openings
Shorts hems are the second chafing hotspot. A bonded hem sits flat and holds its shape, which matters on a short with a liner where a rolled hem becomes an abrasion point after twenty kilometres.
4. Zip pockets and small openings
Bonding stabilises the fabric around a zip opening so the panel does not distort when the zip is pulled. On lightweight stretch fabrics this is the difference between a pocket that lies flat and one that waves.
What bonding does to your artwork
This is where bonding changes the design conversation, not just the factory conversation.
With a stitched seam, every join is a hard boundary. Artwork has to either stop at the seam or accept a visible break. Designers learn to work around it — placing graphics inside panels rather than across them, which quietly limits what a kit can look like.
With a bonded seam there is no break. A gradient, a diagonal stripe or a full-bleed landscape can cross the shoulder and the side without interruption. The design brief stops being “what fits inside a panel” and becomes “what the kit should look like”.
That freedom has a cost: the print has to be aligned across the join before the panels are bonded. Once the tape is cured, the alignment is fixed. This is why bonded programmes need a more careful pre-production sample than stitched ones.
Common failure modes, and how to specify against them
Bonding fails in predictable ways. Most failures are specification problems, not manufacturing accidents.
Delamination after washing. Caused by under-curing or by bonding a fabric that was not designed to take adhesive. Specify the wash performance the tape must survive, and ask for the fabric’s bonding compatibility before sampling — not after.
Rippling along the seam. Happens when tape width is mismatched to fabric stretch. A tape that is too stiff for a four-way stretch knit will pull the panel out of shape. The tape should match the fabric’s elongation, not just its colour.
Print misalignment at the join. A pre-production sample must be printed, bonded and photographed flat, so alignment is checked as a finished piece rather than on a flat pattern.
Heat damage on synthetic knits. Curing temperature has to sit inside a narrow window — high enough to activate the adhesive, low enough not to glaze the fabric. This is a press-control problem, and it is the main reason bonding is not something every factory can offer reliably.
Cost, MOQ and lead time — the honest version
Bonding adds cost. It adds a heat-press step, it consumes tape, and it raises the reject rate during ramp-up. We will not pretend otherwise: a bonded singlet is not the same price as a stitched one.
What it does not change is the commercial structure around it. Our bonded programmes run on the same terms as everything else we make:
- – MOQ from 1 piece for custom logo orders
- – Free design — product and logo design included
- – Sampling in 5–7 days, bulk shipment in 15 days
- – Eight in-house steps — design, fabric cutting, sublimation printing, heat transfer, cutting, sewing, QC checking, packaging
Bonding sits inside that flow rather than beside it. The heat-transfer step does double duty: it applies decoration and, in a bonded programme, it is also where seam tape is cured.
How to brief a bonded programme
If you are considering bonding for an upcoming kit, these five decisions will determine whether it works:
- 1. Name the wearer’s problem. Chafing under the arm? Print breaking at the shoulder? Collar curling? Pick one and bond for it, rather than bonding everything.
- 2. Send artwork that crosses a seam. A design that stays inside panels will not show you whether bonding is worth it.
- 3. Ask for a washed sample, not a new one. Performance shows up after the third wash, not on day one.
- 4. Specify tape width against fabric stretch. Give the factory the fabric spec sheet, not just a colour reference.
- 5. Decide the print alignment sign-off point. It should be a bonded sample, photographed flat, not a digital mock-up.
Frequently asked questions
Is bonded sportswear the same as seamless sportswear?
Not quite. Seamless usually refers to circular-knit garments made without cut-and-sew panels at all. Bonding is a cut-and-sew method where the join is fused instead of stitched. A bonded garment can look seamless while still being engineered panel by panel.
Does bonding survive industrial washing?
It can, if the tape and cure parameters are specified for it. This has to be decided at sampling. A bonded garment built for domestic washing should not be assumed to survive an industrial laundry cycle.
Can you bond any fabric?
No. Very loose knits, heavily textured surfaces and some coated fabrics do not take adhesive reliably. Fabric compatibility should be confirmed before the design is finalised, not after.
Is bonding more expensive than stitching?
Yes, typically. The trade-off is a lighter, flatter garment with uninterrupted print. Whether that is worth it depends on whether your customer notices the seam — and on a singlet worn for three hours, they do.
Can bonding be combined with stitching in one garment?
That is how most programmes actually run. Bonding is applied at the collar, side seams or hems, while structured panels stay stitched. Mixed construction is usually the most cost-effective answer.
Build the kit, then decide the construction
If you are weighing bonded construction against a standard stitched build, the fastest way to settle it is a sample in your own artwork. Send us a design, a logo, or a photograph of a kit you want to beat — we will come back with a construction recommendation, a price and a delivery date.